

Stream Your Favorite Shows with Ease: How to Connect Netflix to Your HomePod

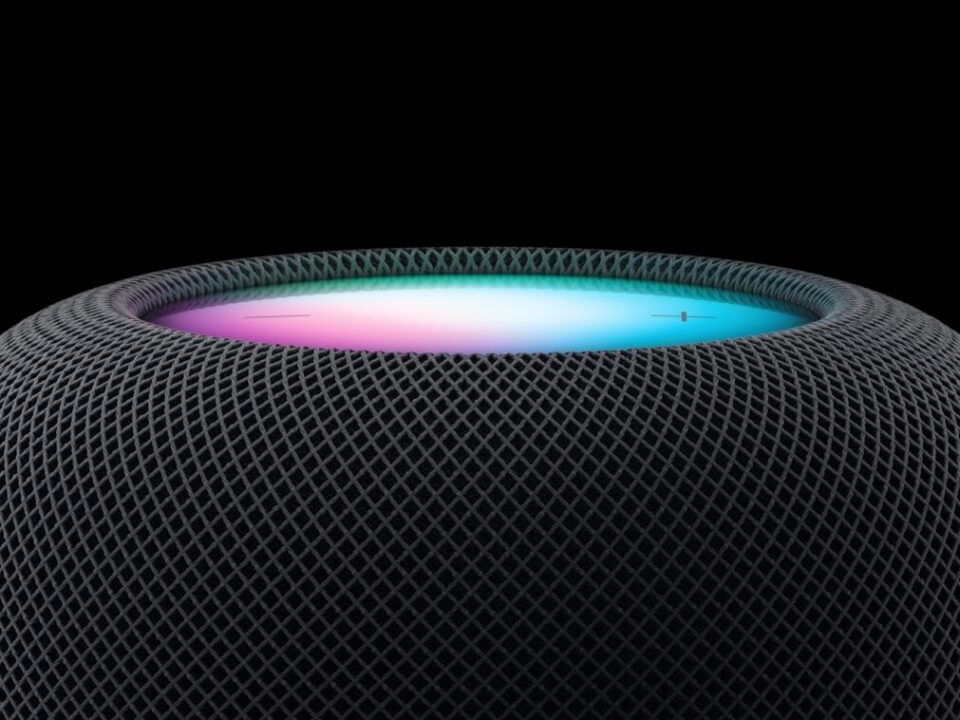
How to Connect Netflix to HomePod for an Immersive Audio Experience
Have you ever imagined transforming your living room into a mini-theater with just your voice? What if I told you that your favorite movies and shows on Netflix could sound better than ever before, all through the magic of Apple's HomePod? Stay tuned as we unravel the steps to connect Netflix to your HomePod, enhancing your binge-watching sessions with top-notch audio that will make every scene come alive.
Introduction
In today's world, streaming services like Netflix have become a staple in our daily entertainment diet. But what if you could elevate that experience with the rich, immersive sound quality of the Apple HomePod? If you're curious about how to connect Netflix to HomePod, you're in the right place. This guide will walk you through the process step by step, ensuring that you can enjoy your favorite movies and series with the incredible sound they deserve.
What You Need Before You Start
Before diving into the setup process, make sure you have the following:
- An Apple HomePod or HomePod Mini
- An iOS device (iPhone or iPad) with the latest version of iOS
- The Netflix app installed on your iOS device
- A stable Wi-Fi connection
Step-by-Step Guide: Connecting Netflix to Your HomePod
Step 1: Set Up Your HomePod
If you haven't already set up your HomePod, here's what you need to do:
1. Plug in your HomePod to power.
2. Unlock your iOS device and hold it close to the HomePod.
3. Follow the on-screen instructions to complete the setup.
Step 2: Connect Your iOS Device to the Same Wi-Fi Network as Your HomePod
Ensure that both your iOS device and HomePod are connected to the same Wi-Fi network. This is crucial for seamless streaming.
Step 3: Use AirPlay to Connect Netflix to HomePod
Now, let's get Netflix playing through your HomePod:
1. Open the Netflix app on your iOS device.
2. Choose the movie or show you want to watch and start playing it.
3. Swipe down from the upper-right corner of your screen (or up from the bottom if you have an older iOS device) to access the Control Center.
4. Tap the AirPlay icon (it looks like a TV with a triangle at the bottom).
5. Select your HomePod from the list of available devices.
Voilà! You should now hear Netflix's audio through your HomePod.
Troubleshooting Common Issues
Sometimes things don't go as planned. If you're having trouble, here are some quick fixes:
- Make sure your iOS device and HomePod firmware are up to date.
- Restart your HomePod and iOS device.
- Double-check that both devices are on the same Wi-Fi network.
- Ensure the volume on your HomePod isn't muted or too low.
Enhancing Your Viewing Experience
Connecting Netflix to your HomePod is just the beginning. Here are some tips to maximize your audio experience:
- Place your HomePod in an optimal location, away from walls and corners for better sound distribution.
- Use two HomePods in stereo pair for an even more immersive sound.
- Adjust the EQ settings on your iOS device to tailor the audio to your preferences.
Conclusion
By following these simple steps, you've unlocked a new dimension of audio for your Netflix viewing pleasure. Whether you're watching a high-octane action movie or a gripping drama, the HomePod's rich sound will bring every moment to life.
Remember, technology is meant to enhance our lives, and with this newfound knowledge, you're well on your way to making every Netflix session a memorable one. So grab some popcorn, dim the lights, and prepare for an auditory experience that will transport you right into the heart of the story.
And before you go, consider this: your HomePod is capable of so much more than just playing Netflix audio. Stick around as we explore other amazing features and tricks to get the most out of your smart speaker in future posts. Happy streaming!
Step-by-Step Guide to Streaming Netflix on Your HomePod
Streaming Netflix on your HomePod can be a bit tricky since the HomePod doesn't support video services natively. However, you can use your iOS device to play Netflix audio through your HomePod using AirPlay. Here's a step-by-step guide to get you started:
Step 1: Connect Your Devices to the Same Wi-Fi Network
Ensure that your iOS device (iPhone or iPad) and your HomePod are connected to the same Wi-Fi network. This is essential for AirPlay to work.
Step 2: Set Up Your HomePod
If you haven't already, set up your HomePod using the Apple Home app on your iOS device. Follow the on-screen instructions to complete the setup process.
Step 3: Open Netflix on Your iOS Device
On your iPhone or iPad, open the Netflix app. Make sure you're signed in to your Netflix account.
Step 4: Start Playing a Movie or Show
Browse through the Netflix library and select the movie or show you want to watch. Tap on it to start playing.
Step 5: Access the Control Center
While the content is playing on your iOS device, swipe down from the top-right corner of the screen (on an iPhone with Face ID) or swipe up from the bottom edge of the screen (on an iPhone with a Home button) to access the Control Center.
Step 6: Tap on the AirPlay Icon
In the Control Center, look for the AirPlay icon (it looks like a rectangle with a triangle at the bottom). It should appear in the music control section. Tap on it.
Step 7: Select Your HomePod
A list of available AirPlay devices will appear. Find your HomePod in the list and select it. This will redirect the audio from your iOS device to play through your HomePod.
Step 8: Enjoy Your Netflix Audio
Your Netflix audio should now be playing through your HomePod. You can control playback (play/pause) and volume directly from your iOS device.
Remember, this method only streams the audio of your Netflix content to your HomePod. If you want to watch the video, you'll need to keep your iOS device's screen on or use a separate display connected to your device.
HomePod 2 - Complete Beginners Guide
What are the steps to connect Netflix audio to a HomePod using an iPhone or iPad?
To connect Netflix audio to a HomePod using an iPhone or iPad, follow these steps:
1. Ensure your iPhone or iPad is on the same Wi-Fi network as your HomePod.
2. Open the Netflix app and start playing the content you want to watch.
3. Swipe down from the upper-right corner of the screen (or up from the bottom if it's an older model) to access the Control Center.
4. Tap the audio card in the upper-right corner, then tap the AirPlay icon.
5. Select your HomePod from the list of available devices.
6. The audio from your Netflix content should now be playing through your HomePod.
Can I directly stream Netflix on my HomePod, and if so, how?
No, you cannot directly stream Netflix on a HomePod. The HomePod is designed primarily for music and does not support video streaming apps like Netflix. However, you can use AirPlay to stream audio from Netflix on your iPhone or iPad to your HomePod.
How do I troubleshoot issues when connecting Netflix to my HomePod for better sound quality?
To troubleshoot issues when connecting Netflix to your HomePod for better sound quality, follow these steps:
1. Ensure Compatibility: Verify that your devices support AirPlay 2, which is required for streaming to HomePod.
2. Check Wi-Fi Connection: Both the device running Netflix and the HomePod must be on the same Wi-Fi network.
3. Update Software: Make sure that your iOS, HomePod, and Netflix app are all updated to the latest versions.
4. Restart Devices: Try restarting your HomePod, streaming device, and router.
5. AirPlay Settings: On your iOS device, go to Control Center and select the AirPlay icon to connect to HomePod.
6. Audio Output: Within the Netflix app, ensure that the audio is set to play through the HomePod.
7. Interference: Minimize interference by moving other electronic devices away from your HomePod and Wi-Fi router.
If problems persist, contact Apple Support for further assistance.

Unlocking Entertainment: Exploring Free IPTV Options for Netflix Spain

Streamlining Your Tunes: How to Pay for Spotify with Nequi

Unlocking the Full Potential of Streaming: A Deep Dive into IPTV Extreme

Unlocking Entertainment: The Rise of IPTV Services in Spain
Exploring NewPlay IPTV: The Next Generation of Streaming Services

Experience Seamless Streaming: How Joyful IPTV is Revolutionizing Home Entertainment
Go up
Deja una respuesta