

Maximize Your Android's Battery Life: A Step-by-Step Guide to Calibration Without Root Access

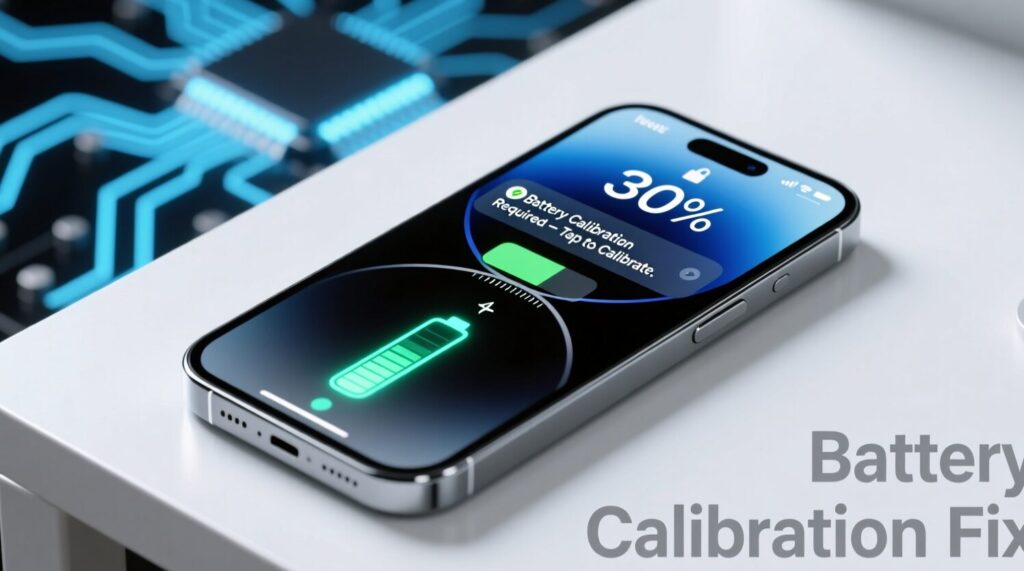
Step-by-Step Guide to Calibrate Your Android Battery Without Root Access
Calibrating your Android battery can help ensure that your device's battery indicator reflects the actual charge level. This process can be particularly useful if you've noticed your phone dying suddenly even when the battery shows a decent percentage remaining. Here's a step-by-step guide to calibrate your Android battery without needing root access:
Step 1: Drain Your Battery
Begin by using your phone normally until the battery is completely drained. You want to continue using your device until it powers down by itself and won't turn back on.
Step 2: Charge to 100%
Next, plug your device into a charger and let it charge uninterrupted. It's crucial that you do not power on the device during this time. Allow the phone to charge until it reaches 100% capacity.
Step 3: Unplug and Power On
Once your device has reached a full charge, unplug it from the charger. Now, power on your device. It's possible that the battery indicator will not read 100% when the device turns on. If this is the case, turn the device off again and repeat the charging process until it reads 100% upon boot.
Step 4: Use Your Device Normally
After your device is powered on and showing a full charge, use it as you normally would. The idea is to allow the battery to discharge naturally over the course of your usage.
Step 5: Repeat the Cycle
For best results, you may want to repeat this cycle - fully discharging and then charging to 100% without interruption - a couple of times. This can help the battery statistics to recalibrate more accurately.
Step 6: Monitor Battery Performance
Keep an eye on your battery performance following the calibration. You should notice an improvement in how your device's software predicts battery life. If issues persist, there may be a hardware problem with the battery itself, or it might be time to consider replacing the battery or the device.
Remember, while calibrating your battery can help with inaccurate battery readings, it's not a fix for a battery that has diminished capacity due to age or damage. Regular calibration can be part of good battery maintenance, but it cannot reverse natural wear and tear.
What are the steps to manually calibrate an Android battery without root access?
To manually calibrate an Android battery without root access, follow these steps:
1. Discharge your phone fully until it turns itself off.
2. Turn it on and let it turn off again.
3. Charge your phone with the device turned off until it reaches 100%.
4. Unplug your charger and turn your phone on.
5. If it doesn't say 100%, plug the charger back in until it says 100% on screen.
6. Restart your phone without the charger plugged in.
7. Once your phone is on and it still shows 100%, the calibration process is complete. If not, repeat steps 5-6.
Remember, this process can help reset the battery statistics, but it won't fix a worn-out battery.
Can battery calibration improve battery life on non-rooted Android devices?
Battery calibration can potentially improve the accuracy of the battery level indicator on non-rooted Android devices, but it does not directly improve the actual battery life. Calibration helps the operating system better estimate the remaining charge, which can optimize charging cycles and usage patterns, potentially leading to a slight extension in overall battery longevity.
Are there any risks associated with manually calibrating an Android battery without rooting?
Yes, there are risks associated with manually calibrating an Android battery without rooting. These include the potential for inaccurate battery level reporting, which can lead to unexpected shutdowns or reduced battery life. Additionally, improper calibration procedures may cause unnecessary strain on the battery, potentially shortening its overall lifespan. It's important to follow reliable guides and understand that calibration is not often necessary for modern lithium-ion batteries.

Top Android Development Tips for Building Better Apps in 2024

Unlocking Android 14's Full Potential: Top Tips and Tricks Sourced from Reddit Power Users

Choosing the Right Charger for Your Android Device: Types and Tips for Optimal Performance

Unlocking the Potential of Android Type-C: The Future of Connectivity and Charging

Unlocking the Full Potential of Your Living Room: A Comprehensive Guide to Android TV

Maximizing Your Drive: Essential Android Auto Tips and Tricks for a Smoother Journey
Go up
Deja una respuesta