

Seamless Photo Transfer: A Step-by-Step Guide to Moving Your iPhone Images to a Windows PC without iTunes

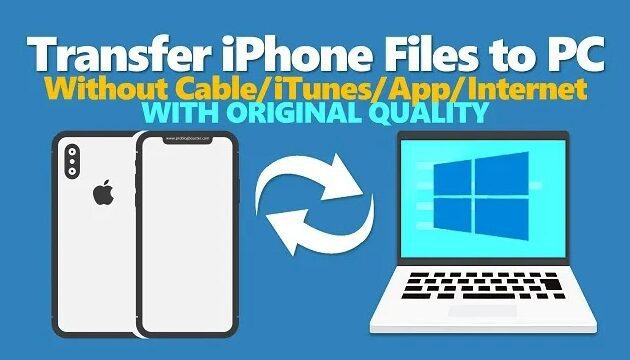
Seamless Photo Transfer from iPhone to PC Without iTunes
Transferring photos from an iPhone to a Windows PC without using iTunes can be accomplished through several alternative methods. One of the most straightforward ways is by utilizing the built-in Photos app in Windows 10 and Windows 11.
To begin, connect your iPhone to your PC using a USB cable. If this is your first time connecting the devices, you'll need to tap 'Trust This Computer' on your iPhone screen. Once connected, launch the Photos app on your PC. You can find it by searching for 'Photos' in the start menu.
Within the Photos app, click on the 'Import' button located at the top-right corner, and then select 'From a USB device'. The app will search for any photos and videos on your iPhone. Once the scan is complete, you can select the specific photos you wish to transfer or choose to import all new items.
Another method is to access your iPhone's storage directly through File Explorer. After connecting your iPhone to the PC, open File Explorer and look for your device under 'This PC' or 'Computer'. Your iPhone will appear as a camera device, and you can navigate to the 'DCIM' folder where your photos are stored. From here, you can simply copy and paste the desired photos to a folder on your PC.
For those who prefer wireless solutions, services like iCloud offer seamless photo synchronization. By enabling iCloud Photos on your iPhone, your photos will automatically upload to iCloud. You can then download these photos to your PC by accessing iCloud through a web browser or by installing the iCloud for Windows application.
Lastly, third-party applications such as Google Photos or Dropbox can also facilitate the transfer of photos. By installing these apps on your iPhone, you can upload your photos to their respective cloud services. Then, by logging into your account on your PC, you can download the photos directly to your hard drive.
Each of these methods provides a convenient way to transfer photos from your iPhone to your PC without the need for iTunes, catering to different preferences whether you prioritize direct cable connection, cloud services, or file management systems.
What are the steps to transfer photos from an iPhone to a Windows PC using the Windows Photos app?
To transfer photos from an iPhone to a Windows PC using the Windows Photos app, follow these steps:
1. Connect your iPhone to the PC with a USB cable.
2. Unlock your iPhone and trust the computer if prompted.
3. Open the Photos app on your Windows PC.
4. Click on the Import button in the top-right corner, then choose From a USB device.
5. Select the photos you want to import and click Continue.
6. Choose the import settings and destination, then click Import.
Can I use cloud services to transfer photos from my iPhone to a Windows PC without iTunes, and if so, how?
Yes, you can use cloud services such as iCloud for Windows, Google Photos, or Dropbox to transfer photos from your iPhone to a Windows PC without iTunes. Install the cloud service app on your iPhone, upload your photos to the cloud, and then access them on your Windows PC through the service's desktop application or web interface.
What alternative software is available for transferring photos from an iPhone to a Windows PC without using iTunes?
Alternative software for transferring photos from an iPhone to a Windows PC without using iTunes includes Microsoft Photos, iCloud for Windows, and third-party applications like CopyTrans Photo or iExplorer. Additionally, you can use the built-in Windows File Explorer to manually copy and paste the photos.

Rev Up Your iPhone: The Top 0-60 Timer Apps to Track Your Speed Demons
Maintaining Privacy: How to Prevent Call History from Syncing Across Your iPhones

Uncovering the Clues: How to Tell if Someone Has Deleted Your Number on Their iPhone

Silencing the Chatter: How to Disable WhatsApp Call History on Your iPhone for Enhanced Privacy Management

Fixing the Flicker: How to Troubleshoot Your iPhone's Green Screen Glitch

iPhone Power Button Woes: A Step-by-Step Guide to Diagnose and Fix Functionality Problems
Go up
Deja una respuesta